Let’s start with some simple shapes to demonstrate the concept of clipping. Sometimes called ‘masking’, this effect involves obscuring a section of one object by placing another object on top to create a mask.
To illustrate, first draw a circle using the DRAW ELLIPSE TOOL and then a rectangle with the DRAW RECTANGLE TOOL in iris. Reminder - pressing SHIFT while drawing constrains the proportions. For the rectangle, remove the fill but keep the stroke. Then make sure the rectangle is arranged on top of the circle using the depth setting in the menu. Now, select both shapes by selecting one and then SHIFT + select the other. Then press “C” on the keyboard. You can see that the top object – in this case the rectangle – acts like a mask for the object underneath. To undo the clipping effect, select the group and press SHIFT + C.
Objects can also be clipped using the context menu shown here when right clicking on two selected objects.
Now let’s see how this works on a plot with animation.
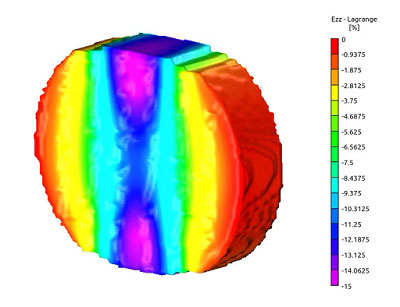
To zoom in on a specific region of a 2D or 3D plot, draw a shape over the area of the plot to be clipped. Then select the object and the drawn shape, and then press “C” on the keyboard. Again, selecting any clipped objects and pressing SHIFT +“C” will unclip the objects.
The clipped object can now be animated to show or hide objects as well as bring focus to certain areas within a plot.
In this example, as the strain increases, we’ll zoom in to show more detail.
We’ll start with the 3D plot and add a keyframe at 0. Then move the play head to 10 second, add another keyframe and set the time to 1.0.
Now, copy this plot using CTRL + C and paste in place with CTRL + SHIFT + V. Now you have two identical plots in the same location. Make sure the top plot is selected and your play head is on 0. Add keyframes for scale and position. Now move the play head to 10 and add another keyframe for scale and another for position. Now move the plot to a new position on the left and increase the size.
Now, draw a circle using the ellipse tool and place it on top of the plot at the location you would like to highlight. With the play head on 0, add keyframes for scale and position. Now move the play head to 10 and add a keyframe for scale and another for position. Now move the circle to a new position on the left and increase the size.
Now we need to create the reference circle which doesn’t move. To do this, copy the circle using CTRL + C and paste in place with CTRL + SHIFT + V. Now delete the keyframes at 10 seconds on the new circle so that it is stationary. As you can see, the first circle moves out leaving the other as a reference.
To complete the effect, simply select both the circle and the plot by selecting one and then SHIFT + select the other. Then press “C” on the keyboard. You can adjust the arrangement parameters using the depth selection on the menu. The original, non-moving plot should be the lowest number at 100. The non-moving reference circle should on top of that at 101 and the clipped pair at 102.
To fine tune the placement, just remember to keep your play head at 10 seconds and select the plot or circle and adjust the size and position.

