-
DIC测量与检测
-
-
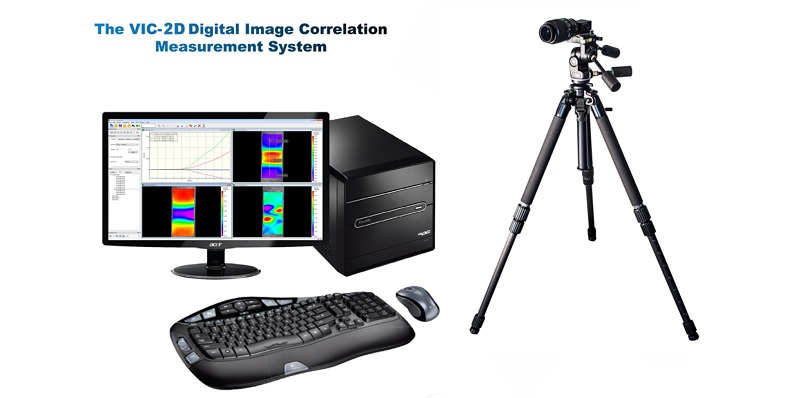
VIC-2D平面应变场测量
美国Correlated Solutions Inc.公司是全球DIC技术的创始者,也是行业顶尖技术的领导者。现在Vic-2D系统处理速度已超过150,000数据点/秒,并支持光学畸变与SEM扫面电镜漂移校正。当您可以用我们的DIC系统很容易地获得定量的数据时, 请不要再满足于定性分析!Don't settle for qualitative data when you can easily quantify it with our DIC systems!
-
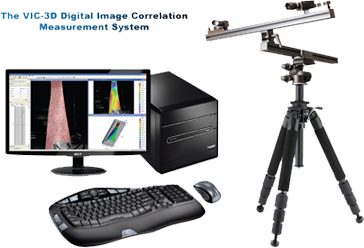
VIC-3D表面应变场测量
美国Correlated Solutions Inc.公司是全球DIC技术的创始者,也是行业顶尖技术的领导者。Vic-3D测量系统具有行业顶尖的精度、可靠性与可重复性,满足科研用户各种复杂的测量需求。当您可以用我们的DIC系统很容易地获得定量的数据时, 请不要再满足于定性分析!Don't settle for qualitative data when you can easily quantify it with our DIC systems!

-
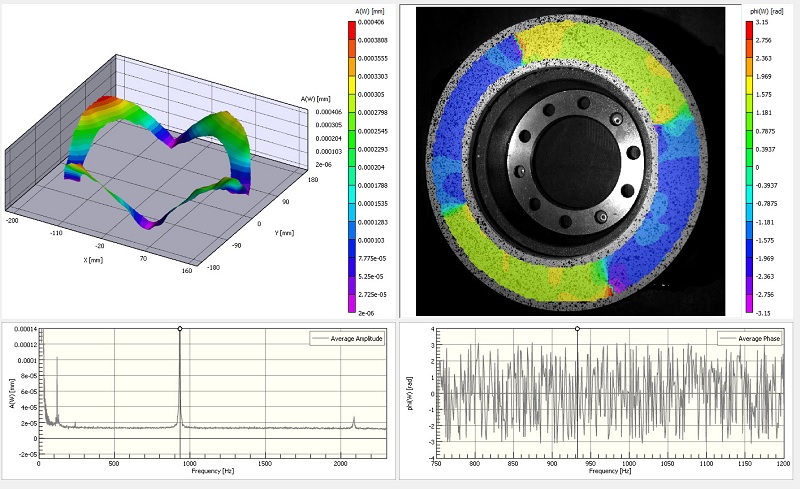
VIC-3D疲劳场与振动测量
无论是瞬态事件测量还是周期性的稳态振动测量,VIC-3D系统均可提供相匹配的DIC测量解决方案。当您可以用我们的DIC系统很容易地获得定量的数据时, 请不要再满足于定性分析!Don't settle for qualitative data when you can easily quantify it with our DIC systems!
-
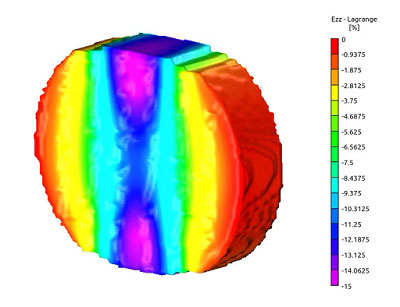
VIC-VOLUME体应变测量
美国Correlated Solutions Inc.公司的VIC-VOLUME体应变/内应变测量软件是行业独一无二的材料、结构内部应变分析软件,主要结合CT/MRI等断层扫描设备的图像数据使用。当您可以用我们的DIC系统很容易地获得定量的数据时, 请不要再满足于定性分析!Don't settle for qualitative data when you can easily quantify it with our DIC systems!
-
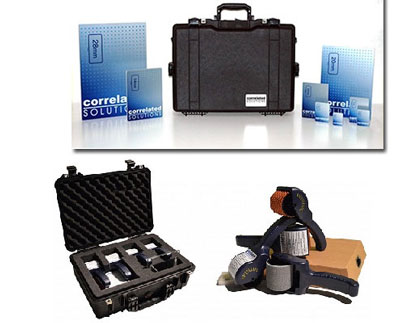
VIC-3D图像采集系统
-
VIC系统附件与辅助功能
可用于提高DIC测量精度与效率的软、硬件工具尽在于此!
当您可以用我们的DIC系统很容易地获得定量的数据时, 请不要再满足于定性分析!
Don't settle for qualitative data when you can easily quantify it with our DIC systems!
-
Psylotech介观尺度/原位加载系统
µTS是独特的适用于纳米压头和宏观万能加载系统之间的介观尺度微型万能材料试验系统,可通过数字图像相关软件(DIC)和显微镜结合的非接触式测量来获取局部的应变场数据。

-
isi-sys复材缺陷激光无损检测
Shearography / ESPI技术的激光无损检测系统,用于复合材料与结构的非破坏性强度和缺陷检测。

-
MML原位微纳米力学测试系统
-
VIC-2D平面应变场测量
-
-
仿真建模与计算
-
- SIMULIA 仿真模拟
- BIOVIA 材料与生命科学
-
CATIA 设计
-
专用后处理模拟方案
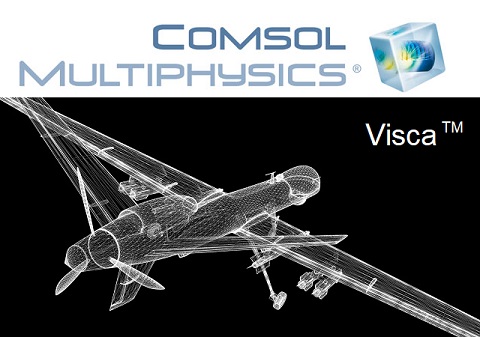
VISCA™ -Advanced Nonlinear Viscoelastic Polymer Modeling来自美国Psylotech公司的高级非线性粘弹性聚合物仿真建模解决方案
-
- 解决方案
- 工程与科研服务
- 支持与下载
- 新闻与活动
- 关于ACQTEC
- DIC 知识库